Week 1 - Introduction
Roadmap
Here is the rough structure of the lab sessions:
- There are multiple Projects within this course. The final goal is to build a compiler for a C-like programming language. We will split this large task into several Projects and provide hints along the way.
- The Projects are connected in sequence. In other words, the code you write in one Project will be used in the next one.
So please keep your code well organized. - Every Project has the same structure:
- A Framework provided by us
- An Implementation that you need to complete on your own
- Every Project will be graded by an automated evaluation script, so do not change the interfaces of the Framework.
Setting Up the Environment
Refer to Environment Setup.
What Is ANTLR
ChatGPT said:
ANTLR (ANother Tool for Language Recognition) is a powerful parser generator commonly used to build compilers, interpreters, DSLs (domain-specific languages), code analysis tools, and more. Its main purpose is to transform grammar rules into a lexer and a parser that can run in a target language such as Java, C#, Python, or JavaScript.
What Are Grammar Rules
More concretely, we can think of grammar rules as the "instruction manual" of a language, or the rules for forming valid sentences.
In natural language, for example, we have grammar such as:
subject + predicate + object- "I eat apples" ✅
Similarly, programming languages and data formats also have their own rules, which specify what combinations of symbols are valid.
Conceptually, grammar rules usually describe:
- Lexical level: the smallest syntax units, such as numbers, words, and symbols.
- Structural level: how these units combine into larger structures such as expressions, statements, and programs.
In other words:
- Grammar rules are a set of formal production rules that define how a complete valid sentence can be generated step by step from symbols.
- These rules are often defined recursively and can be expanded indefinitely.
ANTLR Setup
First, follow Environment Setup and choose one development method. Connecting VS Code to the course virtual machine is recommended. If the virtual machine is temporarily unavailable, you can configure Java and Make directly on Windows or macOS and complete the early labs locally.
If you use remote development, the lower-left corner of VS Code should display something like this after connecting:
If you see SSH: cs323, it means that VS Code is successfully connected to the remote virtual machine.
Next, click Clone Repository in VS Code and enter the course project repository URL:
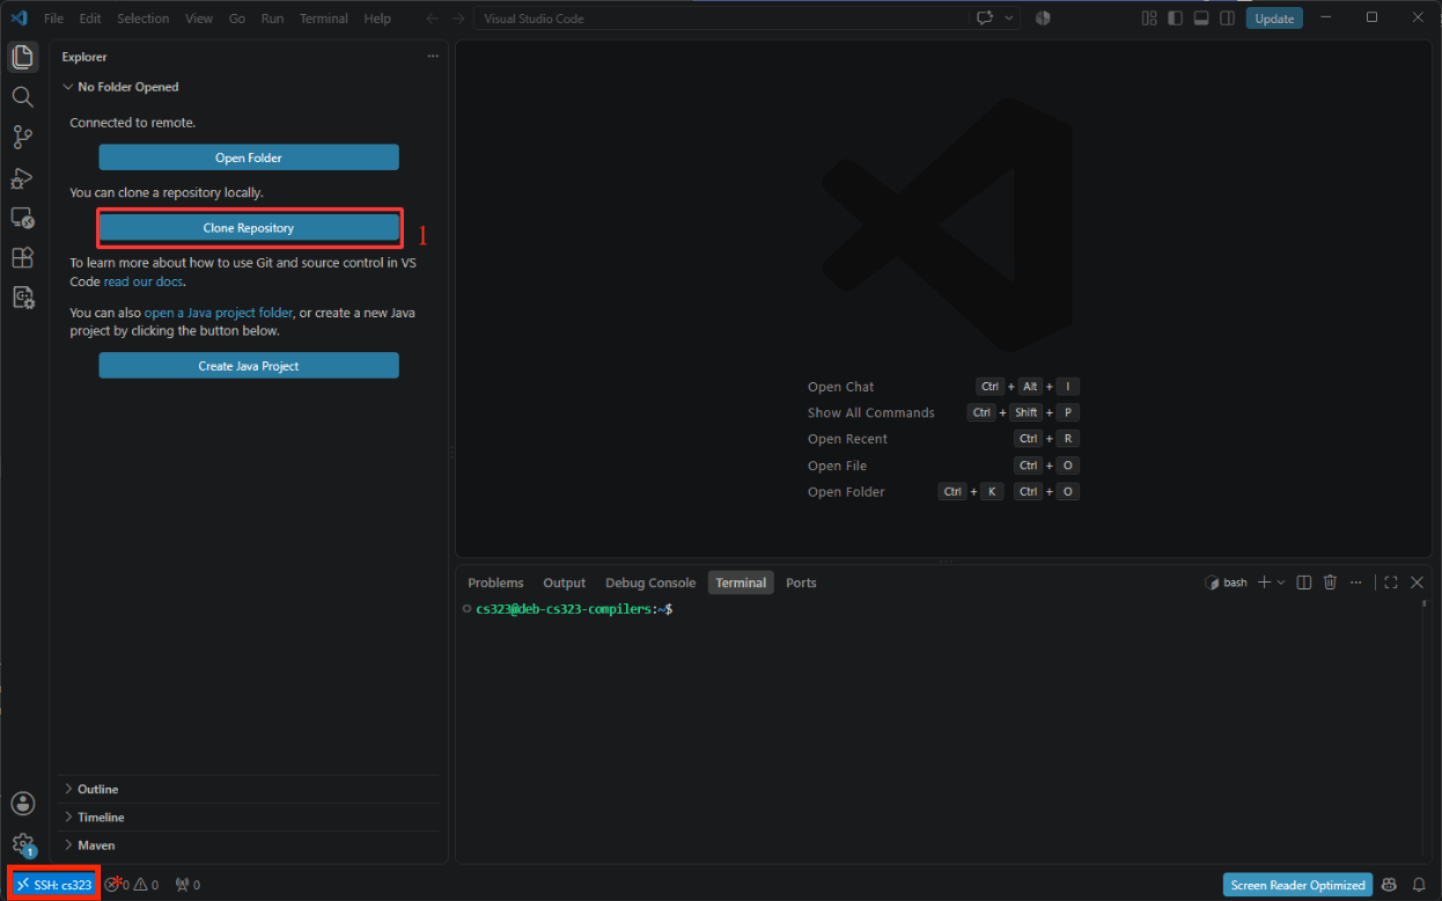
Follow the prompts in VS Code to choose a location for the repository and finish cloning it, then open the project directory.
Next, open the terminal in VS Code. You can do this from the menu, or by using the shortcut:
Make sure the terminal is in your chosen development environment
When using Remote SSH, the terminal should be running on the virtual machine, and the lower-left corner of VS Code should still show SSH: cs323.
When temporarily using Windows or macOS directly, run all subsequent commands from the local project directory.
Then, enter the following command in the terminal:
This command switches the current project to thelab1 branch used for this lab.
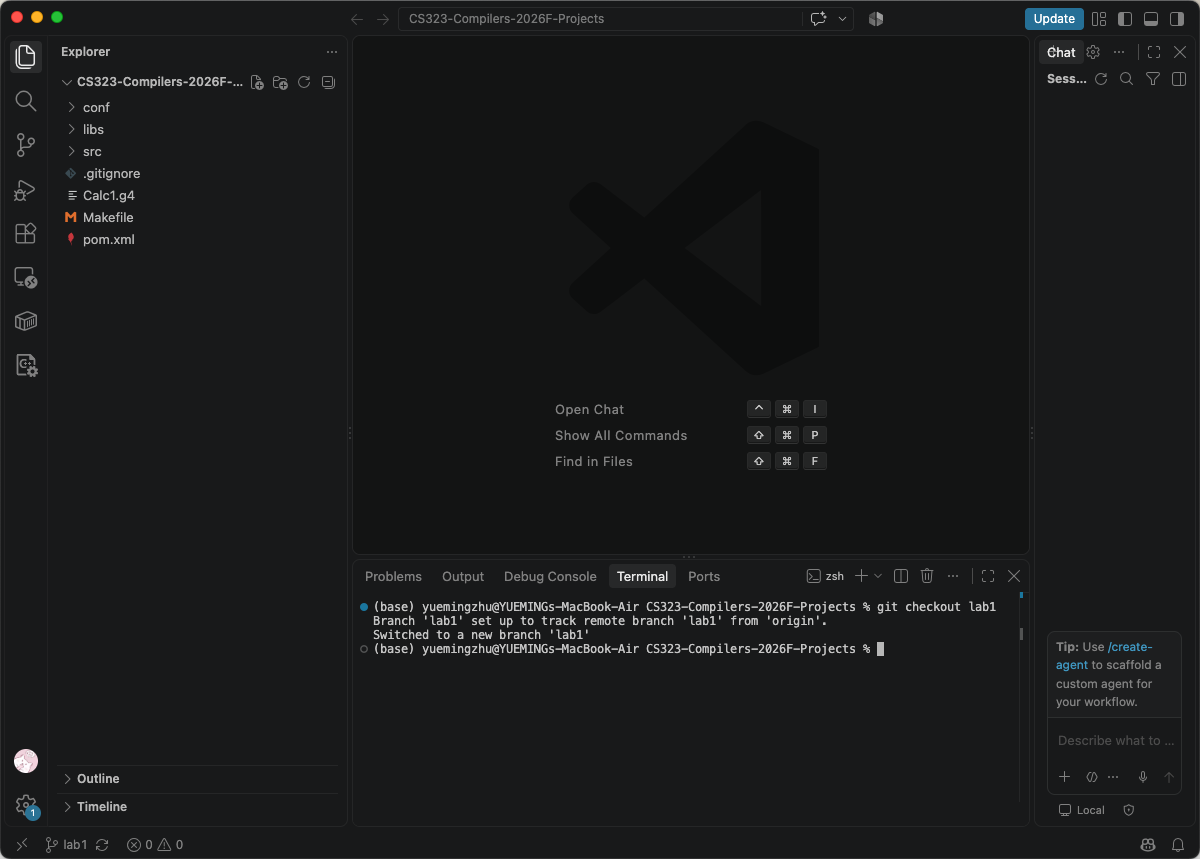
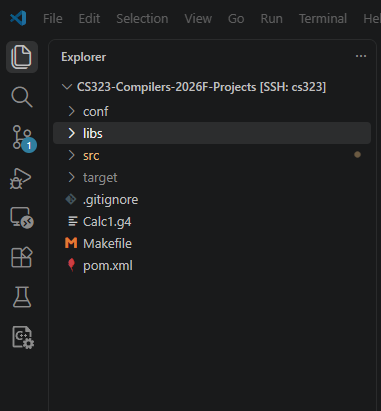
After switching successfully, you should be able to see a project directory similar to the following in the VS Code file explorer:
Ready
If the project directory is displayed correctly in the file explorer and the current branch is lab1, then the code required for this lab is ready. The project root contains a Makefile, ANTLR .g4 files, a source directory, and a test-case directory; always treat the current lab1 branch as the source of truth for the exact structure.
Configure the JAR Dependencies in VS Code
The course project provides the ANTLR JAR file in the libs directory. To let VS Code recognize the source code and dependencies, press Ctrl+Shift+P on Windows or Cmd+Shift+P on macOS to open the command palette, then select Preferences: Open Workspace Settings (JSON).
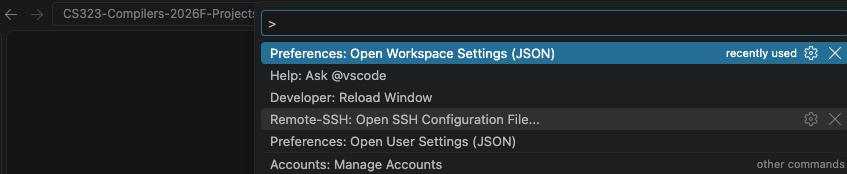
Add the following configuration to .vscode/settings.json in the project root:
{
    "java.project.sourcePaths": ["src/main/java"],
    "java.project.referencedLibraries": [
        "libs/**/*.jar"
    ],
    "java.project.outputPath": "bin"
}
Then, open the Command Palette again, enter and run Debug: Add Configuration, select Java, and generate .vscode/launch.json. Replace its contents with the following configuration:
{
    "version": "0.2.0",
    "configurations": [
        {
            "type": "java",
            "name": "Launch Current File",
            "request": "launch",
            "mainClass": "${file}",
            "classPaths": [
                "libs/*",
                "bin"
            ]
        }
    ]
}
-
${file}: A built-in variable that automatically runs the Java file currently open in the editor that contains amainmethod, so you do not need to create a separate configuration for each file. -
classPaths: The runtime classpath, including the dependency JAR files and the compilation output directory.
You can also create these two files directly. They should be located in the root directory of the project:
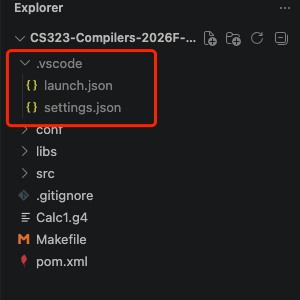
Save the configuration, open the command palette again, and run Developer: Reload Window.
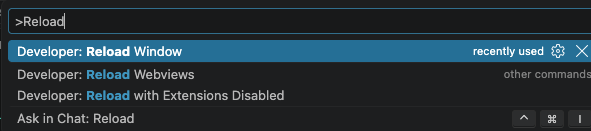
After the window reloads, check Referenced Libraries in the JAVA PROJECTS view. If it contains the JAR file from libs, the dependency configuration is active.
Using the Makefile to Compile ANTLR Grammar Files
As mentioned earlier, ANTLR is a parser generator. Given a grammar file, it can generate code that processes that grammar.
There is a file named Calc1.g4 in the project root directory. It is an ANTLR grammar file. Make sure the terminal is in the project root containing the Makefile, then run:
Afterward, you will notice that a new package named generated.Calc1 appears under src/main/java, containing several .java files. These are the files generated by ANTLR from the grammar Calc1.g4.
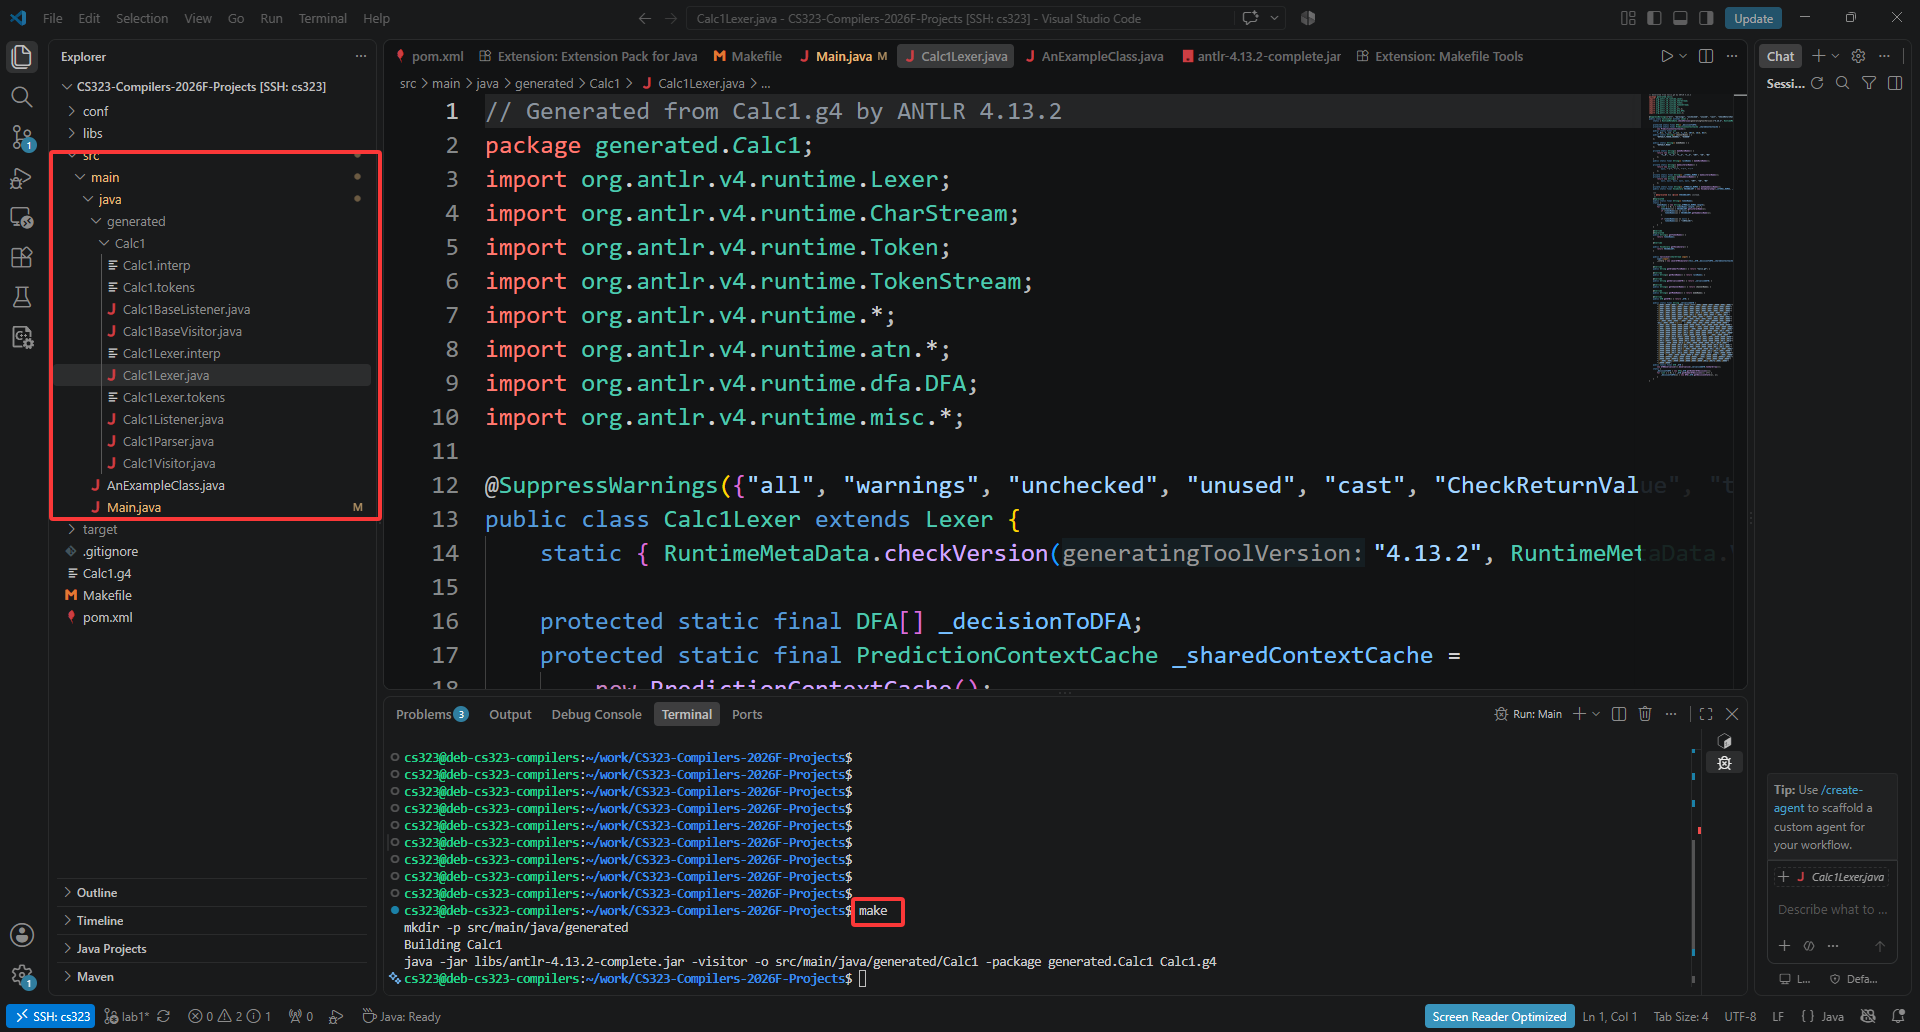
When running the command in a local terminal, you should see output similar to the following:
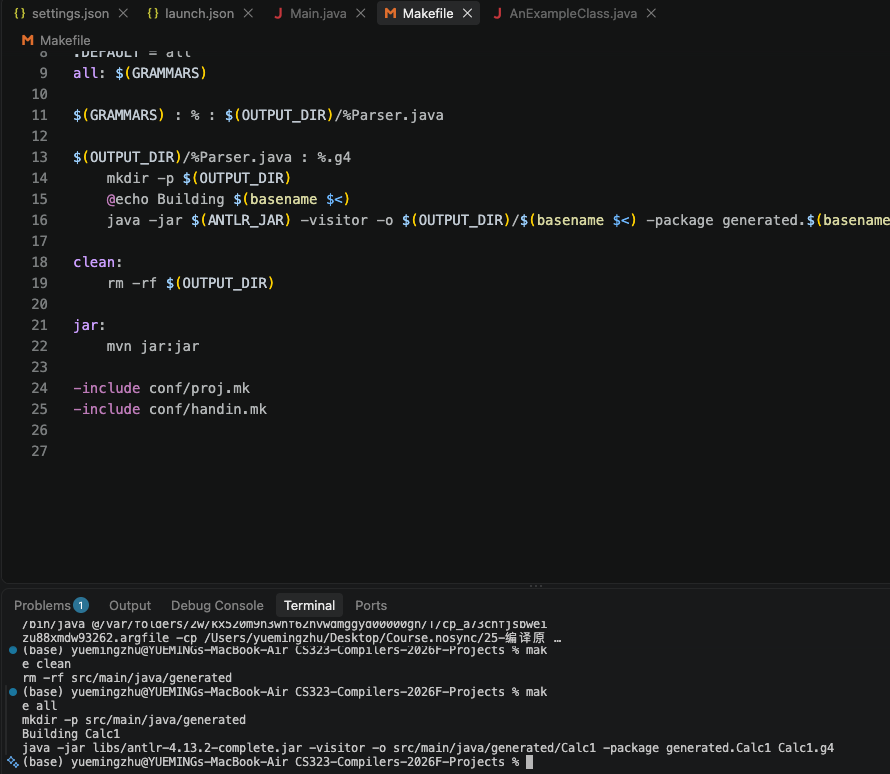
Then run:
You will find that the generated/ directory is removed. Makefile targets may vary between lab branches; inspect the Makefile in the current branch or use the VS Code Makefile Tools extension to see the available targets.
Calling the Parser Generated by ANTLR
Replace Main.java with the following content:
import generated.Calc1.Calc1Lexer;
import generated.Calc1.Calc1Parser;
import org.antlr.v4.runtime.*;
import org.antlr.v4.runtime.tree.*;

public class Main {
    public static void main(String[] args) {
        // Feed the string to be parsed into ANTLR
        CharStream input = CharStreams.fromString("1 + 2");
        // Lexer
        Calc1Lexer lexer = new Calc1Lexer(input);
        // Token stream
        CommonTokenStream tokens = new CommonTokenStream(lexer);
        // Parser
        Calc1Parser parser = new Calc1Parser(tokens);
        // Start parsing from the rule 'expression'
        ParseTree tree = parser.expr();
        // Print the parse tree
        System.out.println(tree.toStringTree(parser));
    }
}
Main class. If you installed the Extension Pack for Java in VS Code as required in the environment setup, you should see a small triangle in the upper-right corner labeled Run Java. The console will output:
This means the parser built by ANTLR successfully parsed 1 + 2 into a syntax tree. As for the first error message, we will explain it later in the Lexer section.
It is completely fine if the tree does not make much sense yet. We will gradually explain what it means in the following labs.